
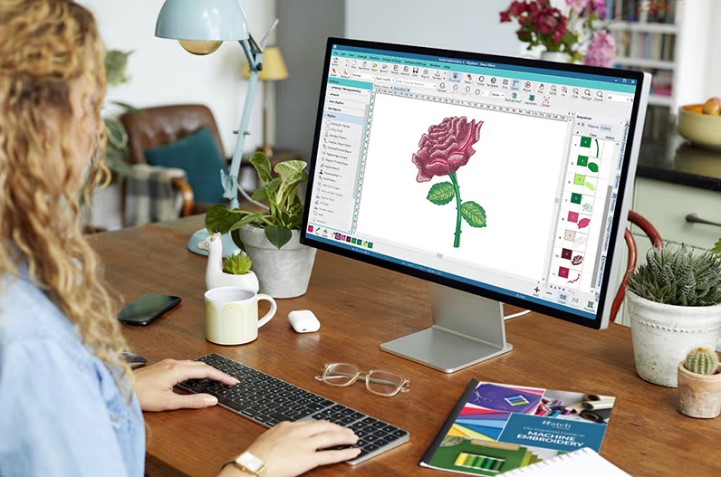
Digital images are everywhere. Most logos and designs come as JPG or PNG files. They look great on a screen. But they are not ready for embroidery machines.
To stitch on a Brother machine, you must first Convert JPG to PES so the image becomes a stitch file. A PES file holds stitch data, not pixels. That means your image must go through a process called digitizing before it can be used.
In this guide, I will explain how to turn digital images into clean PES stitch patterns. I will share real tips from hands-on work. I will keep the words simple and clear. By the end, you will understand the full process.
Why Digital Images Are Not Ready for Stitch
A digital image is made of pixels. These are tiny color dots. When you zoom in, you can see them.
An embroidery machine does not read pixels.
What a Machine Needs
Your machine needs:
-
Stitch type
-
Stitch path
-
Stitch order
-
Thread color list
-
Density level
A JPG or PNG file does not have this data. That is why digitizing is required.
Digitizing means turning shapes into stitch steps.
Step 1: Start with a Clean Image
The first step is to check your image.
Use High-Quality Artwork
Choose an image that is:
-
Clear
-
Sharp
-
Not blurry
-
Not too small
Low-quality images cause errors when tracing.
From my own work, I have seen that clean art saves hours of edits later.
Step 2: Simplify the Design
Embroidery is not like print. It cannot show tiny details well.
Remove Small Details
Very thin lines may break. Tiny text may not be readable.
Simplify the design into bold shapes.
Limit the Colors
Each color change stops the machine. Too many colors increase time and cost.
Try to group shades into solid color blocks.
Step 3: Import into Digitizing Software
Now open embroidery software that supports PES format.
Import the digital image.
Most programs allow you to trace shapes.
Auto Trace vs Manual Work
Auto trace is fast. It creates stitch areas from shapes.
But auto tools may create too many points. They may also miss small gaps.
Manual digitizing gives better control.
In real projects, I often start with auto trace and then clean the file by hand.
Step 4: Choose the Right Stitch Types
Each part of your design needs a stitch type.
Satin Stitch
Best for:
-
Text
-
Borders
-
Small shapes
It gives a smooth and shiny look.
Fill Stitch
Best for:
-
Large shapes
-
Solid areas
It covers space evenly.
Running Stitch
Best for:
-
Fine lines
-
Detail
-
Underlay
Choosing the correct stitch type is key for clean results.
Step 5: Set Proper Stitch Density
Density controls how tight the stitches are.
If density is too high:
-
Fabric may pucker
-
Thread may break
If density is too low:
-
Gaps may show
-
Design may look weak
Adjust for Fabric Type
Cotton works well with medium density.
Stretch fabric needs lower density and strong underlay.
Caps need firm density and solid base stitching.
Always test before final production.
Step 6: Add Underlay for Support
Underlay is the base stitch under the main design.
It helps:
-
Hold fabric flat
-
Reduce shifting
-
Improve top stitch look
Skipping underlay can lead to poor results.
In my experience, strong underlay makes the design look more neat and stable.
Step 7: Plan Stitch Order Carefully
Stitch order affects the final look.
Start with base shapes first.
Add details next.
Finish with borders or outlines.
If you stitch small parts first, they may get covered later.
Smart planning avoids gaps and saves time.
Step 8: Adjust Pull Compensation
Fabric moves when stitched.
Pull compensation adjusts shapes slightly so they look correct after stitching.
Without it, circles may turn into ovals.
This small setting makes a big difference.
Step 9: Save as PES Format
Once your design is ready, save it in PES format.
PES is used by many Brother embroidery machines.
Always check your machine model to confirm format support.
Do not guess the file type.
Step 10: Run a Test Stitch
Never skip testing.
Use the Same Fabric
Test on the same material you will use for the final product.
Look for Problems
Check for:
-
Thread breaks
-
Gaps in fill
-
Loose outlines
-
Puckering
If you see issues, adjust and test again.
One test can prevent many mistakes.
Common Problems and Easy Fixes
Here are issues I often see.
Small Text Looks Messy
Fix: Increase text size or use satin stitch.
Fabric Pulls Inward
Fix: Lower density and add stronger underlay.
Outline Does Not Match Fill
Fix: Adjust pull compensation.
Small changes can improve results a lot.
Real Tips from Hands-On Work
After working on many stitch files, I learned some key lessons.
Keep Designs Bold
Thick shapes stitch better than thin ones.
Avoid Tiny Gradients
Embroidery cannot show soft color blends like print.
Always Save Backup Files
Keep your original image and digitized file safe.
This helps if edits are needed later.
How Clean Stitch Patterns Build Trust
A neat embroidery design looks professional.
Loose threads or gaps look cheap.
When your logo stitches clean, it builds trust.
Clients notice quality.
Quality work helps grow your brand.
The Value of Skill and Care
Software helps speed up the process. But skill still matters.
An experienced digitizer understands:
-
Fabric behavior
-
Thread tension
-
Stitch limits
Careful review ensures strong results.
Embroidery is both art and planning.
Final Thoughts
Turning digital images into clean PES stitch patterns takes patience and care.
Start with a clear image.
Simplify the design.
Choose the right stitch types.
Set correct density.
Add underlay.
Test before final run.
Each step matters.
Embroidery machines are powerful tools. But they need the right file.
With proper digitizing and testing, your digital image can become a sharp and clean stitch pattern.
Take your time. Plan well. Test carefully.
Your design will look just as strong in thread as it does on screen.


